
We have some pro tips to make your install easy and painless.
Solar path and landscape lighting is an innovative way to enhance your outdoor spaces with beauty and functionality. These systems not only improve the aesthetics of your property but also provide safety and convenience.
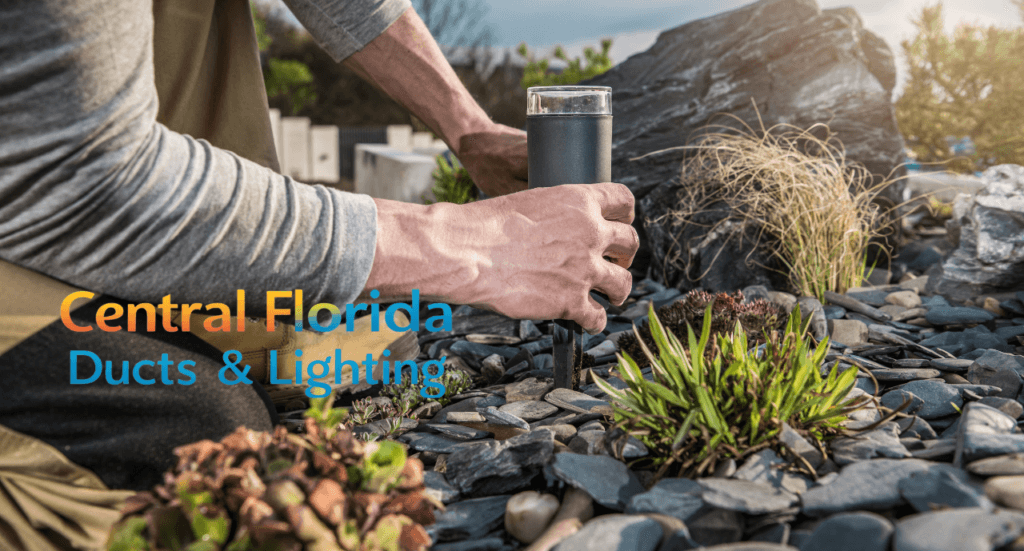
At Central Florida Ducts and Lighting, we specialize in helping homeowners and businesses design and install professional-grade solar lighting solutions tailored to their unique needs.
This guide will take you through the entire process of installing solar path and landscape lighting, from planning and design to execution and maintenance.
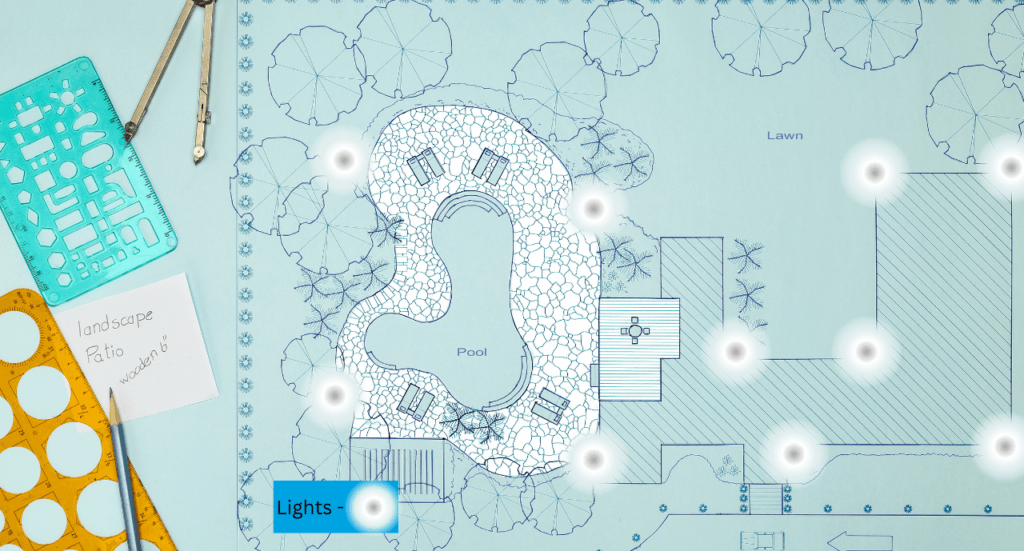
1. Planning and Design The first step in any successful solar lighting project is thorough planning and design. This ensures that your lighting complements the overall landscape and achieves your desired effects.
Assess Your Landscape
- Identify Key Areas: Start by identifying areas that require lighting for safety (like pathways and steps) or visual appeal (such as gardens and water features).
- Sketch a Plan: Create a detailed sketch of your landscape, marking existing features, paths, and potential lighting locations.
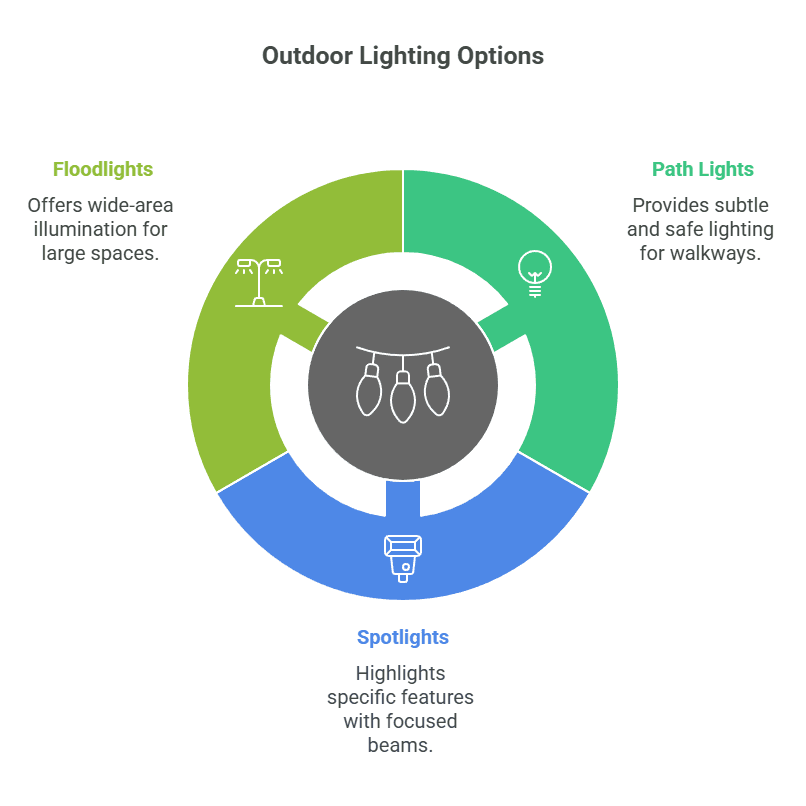
Select Lighting Types
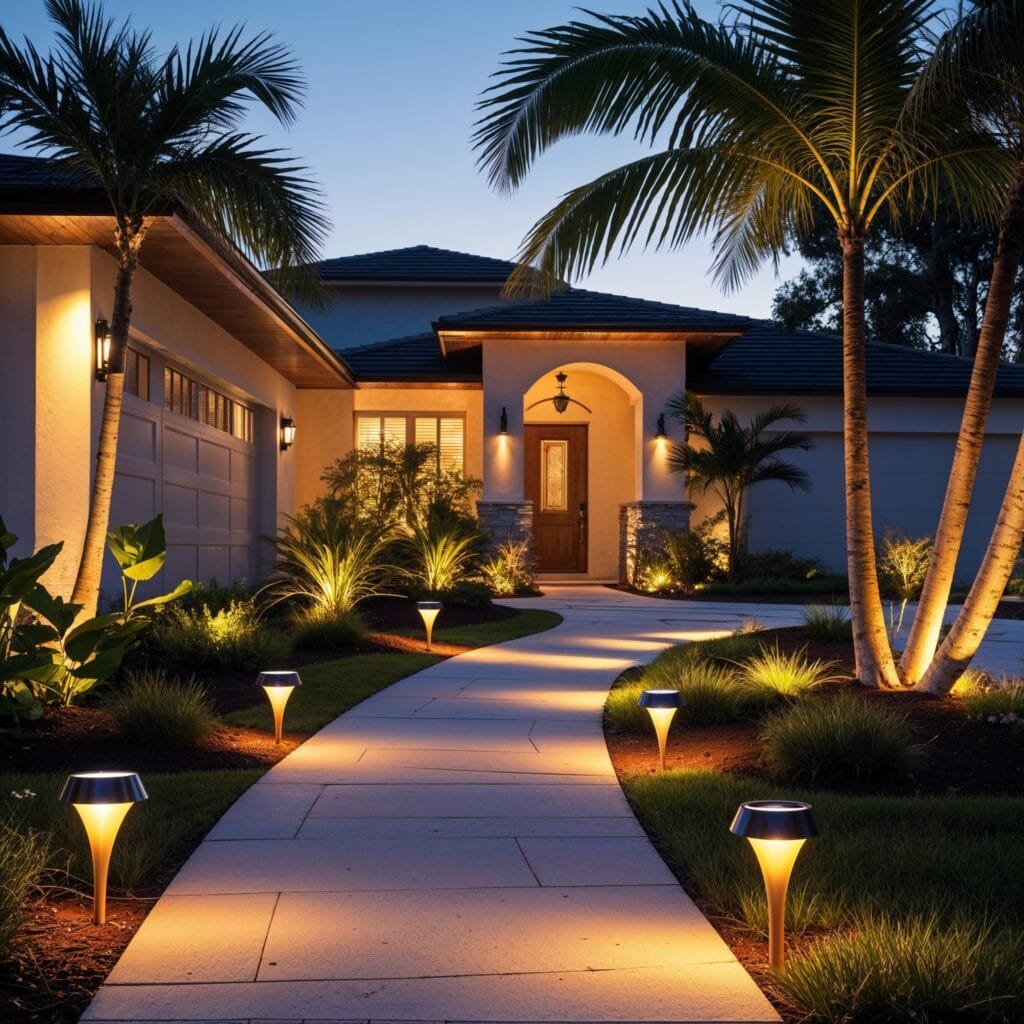
- Path Lights: Ideal for illuminating walkways and driveways. These are generally low-profile and spread soft light downward.
- Spotlights: Used to highlight specific features like trees, sculptures, or architectural details.
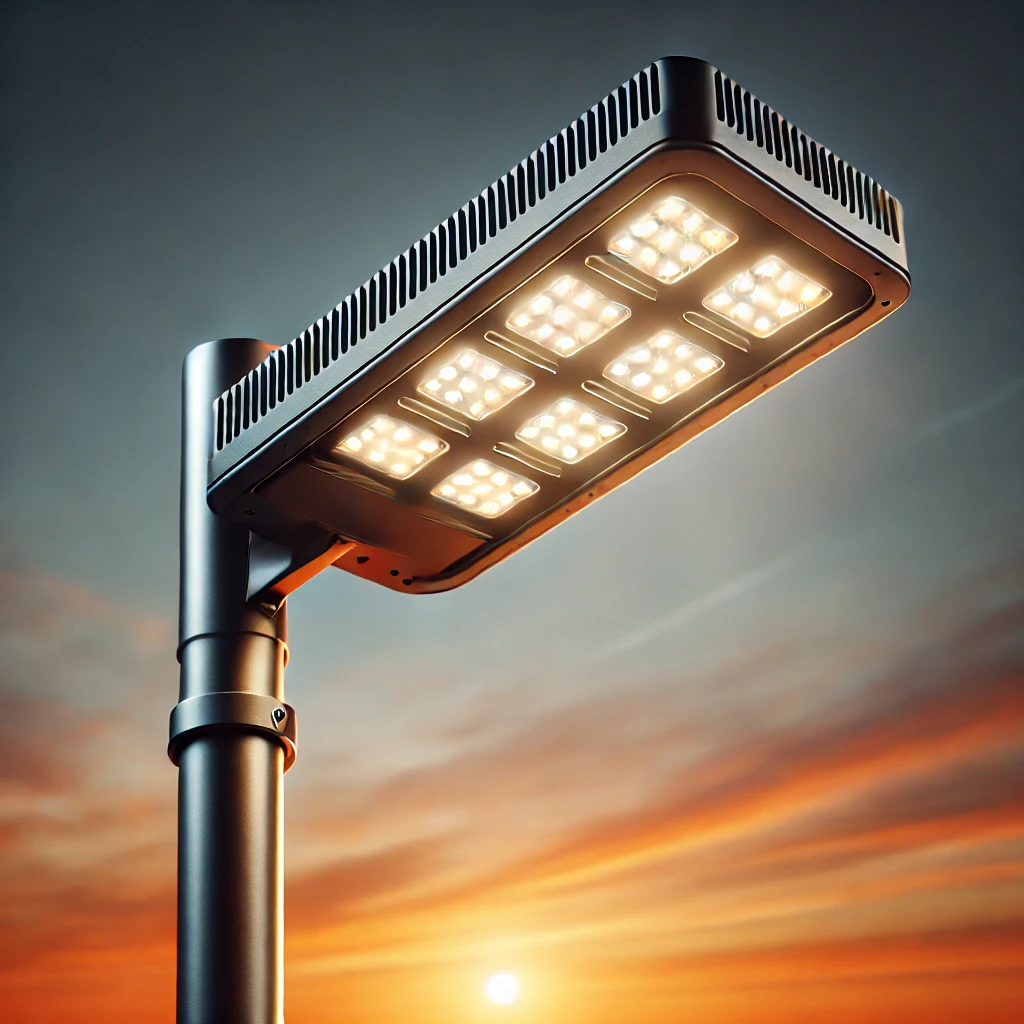
- Floodlights: Provide broader, high-intensity illumination for larger areas.
- Accent Lights: Add ambiance by highlighting smaller elements, such as flower beds or garden edges.
Design a Lighting Layout
- Balance: Avoid overcrowding lights in one area while neglecting others.
- Layering: Use multiple lighting types to create depth and interest.
- Focus: Ensure each fixture serves a clear purpose, whether for safety, ambiance, or highlighting features.
2. Choosing the Right Lights Choosing high-quality, durable lights is critical for a professional-grade installation that lasts.
Quality and Durability
- Look for weather-resistant materials like stainless steel, aluminum, or durable plastics.
- Ensure the solar panels are efficient and high-capacity, with long-lasting batteries.
Brightness and Wattage
- Path Lights: 50-100 lumens for subtle, safe lighting.
- Spotlights: 150-300 lumens to draw attention to features.
- Floodlights: 700 lumens or more for wide-area illumination.
- Adjust brightness levels based on the desired ambiance and functionality.
Color Temperature
- Warm White (2700K-3000K): Perfect for creating a cozy, inviting atmosphere.
- Cool White (4000K-5000K): Suitable for task-oriented lighting and modern aesthetics.
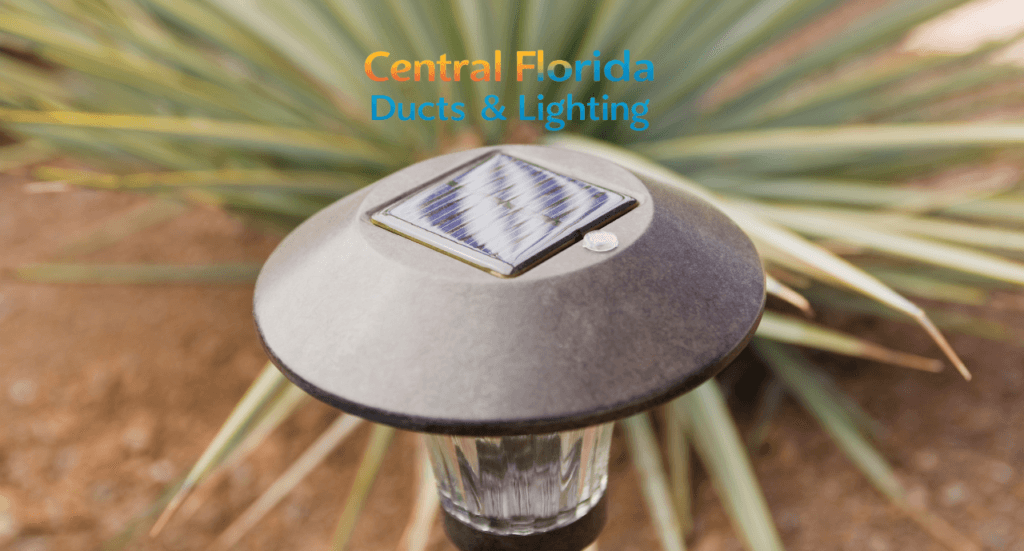
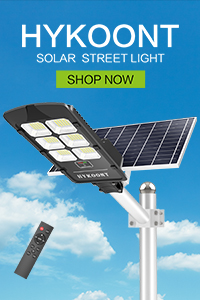
Here is a list of our recommended do it yourself outdoor solar lights. These are close, or are, professional grade lights.

3. Placement and Installation Proper placement and installation are vital to achieving the desired effects and ensuring long-term performance.
Optimal Placement
- Sunlight Exposure: Install lights in areas with at least 6-8 hours of direct sunlight daily to ensure efficient charging.
- Spacing: Position path lights 6-8 feet apart for even coverage. Place spotlights and floodlights strategically to avoid overlapping beams or excessive brightness.
- Angles: Adjust the angle of spotlights and floodlights to maximize their effect without causing glare.
Installation Steps
- Prepare the Ground:
- Clear debris and ensure the ground is level.
- For path lights, use stakes to secure the fixture bases firmly in the soil.
- Install Fixtures:
- Follow manufacturer instructions for assembling and placing the lights.
- Ensure solar panels face direct sunlight, avoiding shade from trees or buildings.
- Secure Wiring (if any):
- For hybrid or wired solar lights, bury wires at least 6 inches deep to prevent tripping hazards or damage.
- Test the System:
- Once installed, test the lights after dark to ensure proper functionality and positioning.
4. Best Practices To ensure a polished and professional result, follow these best practices:
- Avoid Overlighting: Excessive brightness can diminish the ambiance and cause glare.
- Consistency in Style: Match fixtures to your landscape design and architectural style for a cohesive look.
- Energy Efficiency: Use solar lights with adjustable brightness settings and motion sensors to conserve energy.
- Maintenance: Regularly clean solar panels, replace batteries as needed, and inspect fixtures for damage.
5. Lighting Effects and Enhancements Creative use of lighting effects can transform your outdoor space into a stunning visual experience:
- Uplighting: Position spotlights at the base of trees or walls to create dramatic shadows and highlight textures.
- Silhouetting: Place lights behind objects to create striking outlines.
- Moonlighting: Install lights high in trees to simulate natural moonlight filtering through branches.
- Path Glow: Use diffused path lights for a soft, inviting glow along walkways.
6. Maintenance and Longevity
Regular maintenance ensures your investment in solar lighting continues to perform optimally:
- Clean Solar Panels: Dust and debris can reduce efficiency. Clean panels with a damp cloth regularly.
- Inspect Fixtures: Check for cracks, corrosion, or loose connections, especially after storms.
- Replace Batteries: Solar lights typically need new batteries every 1-3 years, depending on usage and quality. You can also get custom kits with a battery box and a wiring system similar to a home solar unit.
By following this comprehensive guide, you can achieve a professional-grade solar lighting installation that enhances the beauty, safety, and functionality of your outdoor spaces.
At Central Florida Ducts and Lighting, we’re here to help bring your vision to life. Whether you need expert advice, high-quality fixtures, or a full-service installation, our team is ready to assist. Let’s illuminate your landscape and create a space you’ll love for years to come!